Parametric Work
A good chunk of my time employed has been spent creating parametric families in order to reduce the number of files needed for a working library. I had minimal exposure to family modeling in my college career, and being the only person in the company using Revit, I trained myself up on it. I then applied these budding skills to schoolwork during my final year at Purdue. Since then, I've adopted a plethora of knowledge and tricks to create complex, parametric Revit families.
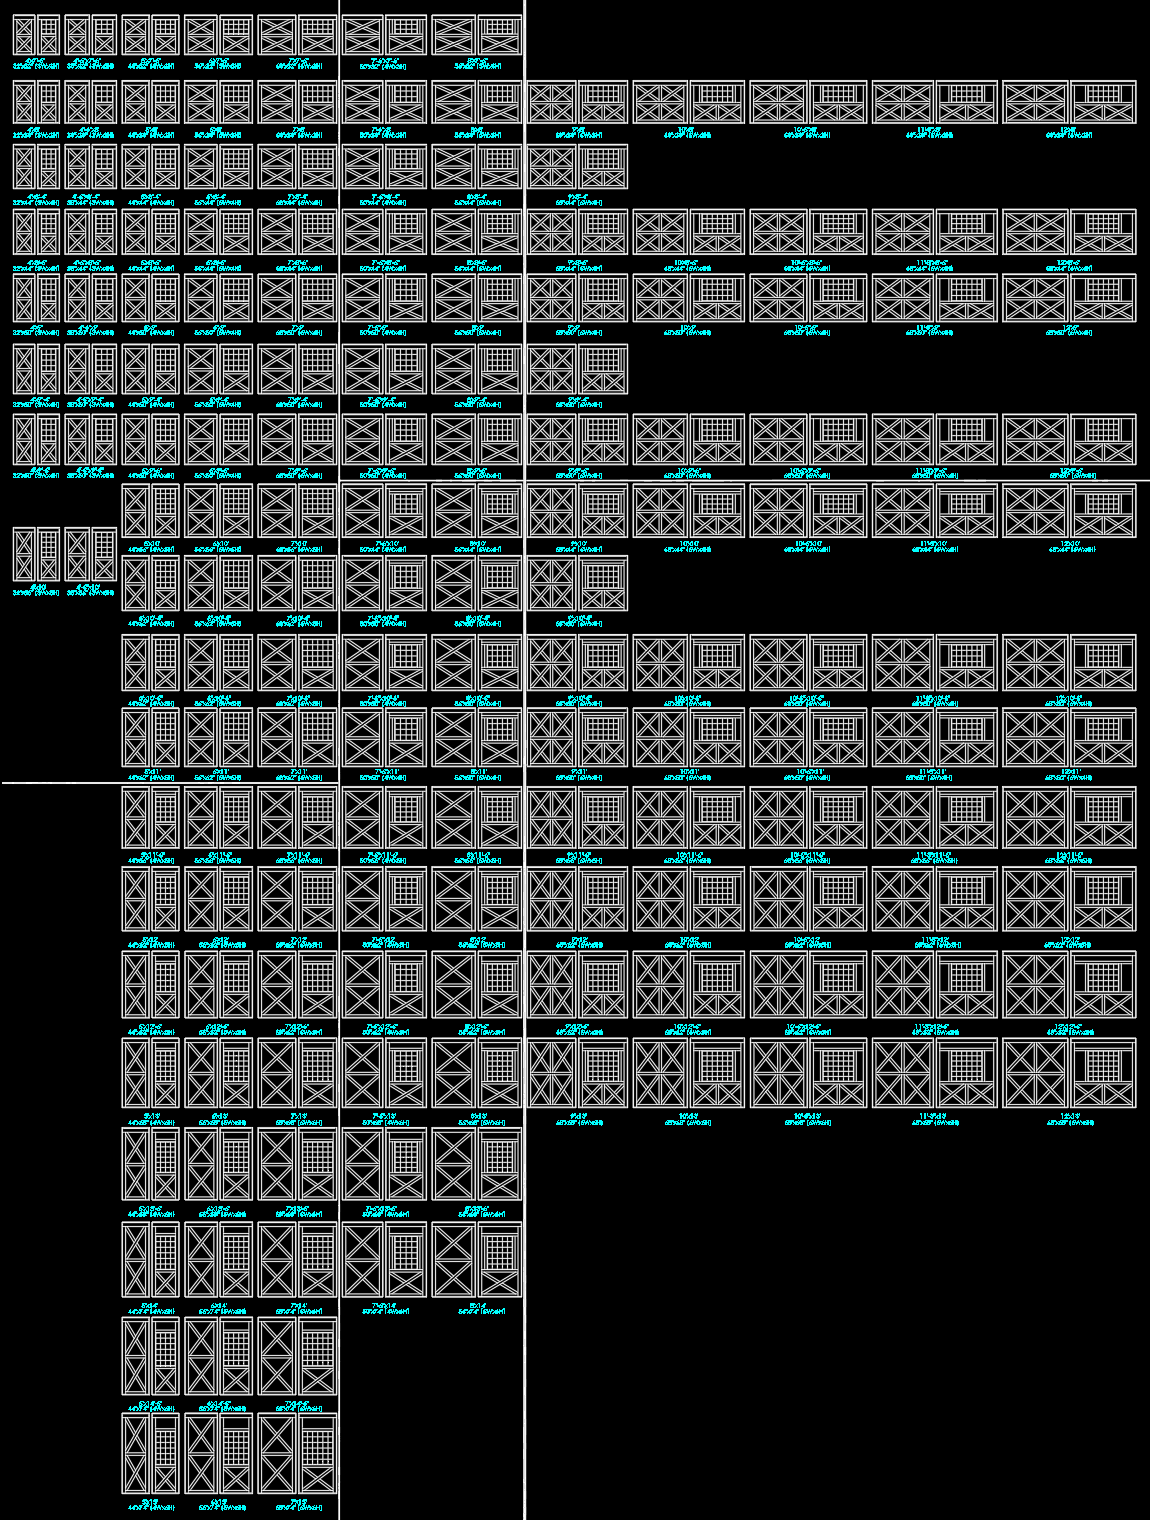
Crossbuck Sliding Doors w/ Windows
These crossbuck-sliding doors only swap the nested panel models when changing from the windowed to non-windowed versions — the windowed panels are all the same family. Nested panels allow for the ability to have opened or closed doors.
For the windowed panel, the 2x6 boards are locked to the window and don't change size, but they won't be present on shorter or narrower doors. These boards are simply shown or hidden with visibility parameters. However, the top board's distance from the top of the door will actually change based not only on door height, but on door width — any door above a certain width has different vertical spacing. To solve this, the actual parameter controlling the dimension uses two other parameters that have the different height formulas, and it swaps between them depending on the door width. The window uses a different set of parameters for the same purpose, as a door above the same width will actually make the window size smaller. The crossbucks at the bottom have no formulas, because the top spacing and the window spacing will determine the height of said crossbucks.
This door family is one of the most robust parametric families I've ever made, consolidating dozens of different AutoCAD blocks into one model. It is also my first go-to when touting the benefits of parametric modeling and Revit!
Bifold Doors
When a client asked for an airplane hangar with an open bifold door, I considered just modeling a static open door--but where's the challenge in that?
One of the greatest challenges with this model was constraint issues; keeping the panels locked into place without overconstraining them proved to be a hurdle. The biggest constraint issue was that Revit would not allow the reference lines to be vertical if they were locked to the vertical reference plane. This is because the endpoint of the line was locked to the plane; having more than one point on the line also rest on the plane would break the constraint. After trying to tackle it from several different angles, I discovered that if the angle of the panels was calculated, it could be unlocked from the vertical plane and therefore wouldn't return an error. A simple trigonometry formula fixed the problem!
After this, I continued to add more features, such as panel spacing adjustements based on thickness (to avoid overlapping panles when open) and the ability to set the top or bottom panel to horizontal. You can also change the degree/height of the fold when the door is open.
Overhead Door w/ Variable Panels
When I had a request for an OHD with windows on its third and fourth panels, I wasn't sure how to tackle it — all I'd ever modeled were OHDs with simple panel arrays. The panels, of course, could be swapped for different types, but it wasn't possible to make one different than the others, because it would break the array. The array was necessary because the panel count needed to change based on the OHD height.
The solution, then, was to remove the need for an array, and instead have each panel's visibility controlled by a calculated integer value that would change based on the door's height. For example, the panel count parameter will be 6 if the OHD height is between 10' and 12'. Panel #6 will become visible because its paramater is set to true if Panel Count = 6. The spacing for the panels is calculated just the same as if they were in an actual array: by taking the overall height and dividng by the count.
As for the panels themselves, previous windowed panels didn't have windows the user could resize — they would simply stretch to fill the entire panel. However, this OHD has windows that the user can specify the width and height, as well as the window count. I created a OHD panel template that can be used to create more custom panels and ensure that the type swapping won't break anything in the host model.
Glass Overhead Door
This glass OHD was a stepping stone in relying more heavily on formula-based parameters instead of type catalog data. The horizontal and vertical grids can be spaced evenly, or the outermost grids can have a manual offset while the inside grids maintain even spacing. The enabling of the uneven spacing was done by having the first and last grids' spacing controlled by a parameter that would either take the default equal spacing or the user's inputted uneven spacing, based on whether the "Uneven Spacing" option was checked.
Commercial Walkdoor w/ Sidelites & Transom
I frequently ran into needing sidelites or transom windows to go alongside commercial doors. I found it a bit tedious to place separate windows next to the door, nevermind that the trims overlapped! Having separate windows also made it a bit of a hassle if the door needed to be moved. So I created a nested door panel and nested windows
Steel Sliding Doors
These doors are similar to the crossbuck doors listed earlier, though their panels aren't as complex. However, I ran into a usage problem that hadn't come up with the previous doors: these needed to be able to be offset from the center, meaning both doors would slide the same direction when open. Because I had the panels' movement constrained by a single opening parameter, this didn't translate when attempting to get both doors to slide the same direction. An additional challenge was presented by Revit's inability to process negative dimensions. However, with a few workarounds, I got the family working as intended.
Sliding Windows
The panels in these sliding windows didn't appear to have a consistent formula for adding or removing grids, so the default numbers are determined by the type catalog (as opposed to the crossbuck doors, which use ranges within a formula). The biggest addition was the shutters, both raised and louvered. These showed up frequently enough that I determined that adding them to the windows themselves was the best course of action. These shutters also house a void that cuts through the trim as to avoid any clipping! The window panels also house a single grid override, which allows the user to swap to single grids with a toggle. One of the biggest challenges was finding a way to allow the user to toggle the grids on and off, while also allowing the single grids override toggle. Also, because the panels are nested, it allowed me to put a toggle for opening the windows! I've also created a single hung window family using the same principles.